Brightness and Contrast
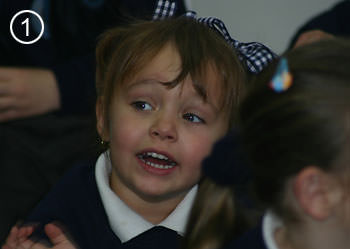
Very often, when we upload our pictures to the computer from the camera and first look at them on the screen, they will appear dull and lifeless like photo No.1 on the right.In this instance the photo is under exposed, often a problem when auto flash is used with a long lens, the flash is too far away from the subject to give the proper exposure.
Here are some suggestions for altering the brightness and contrast of the image in Photoshop, use them in the order that they appear, only move on to the next method if you are not getting what you want.
Auto Levels/Contrast
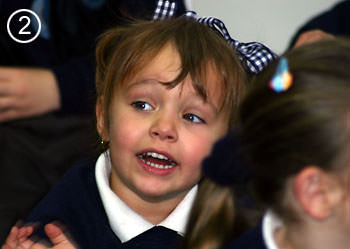
There is a 'magic button' in Photoshop called 'auto levels' which you will find under the 'image' menu on the 'adjustments' sub menu.Hitting 'auto levels' is always worth a try, it sometimes produces just the result you were looking for or, at least, a good place to start. If you don't like the result then hit the undo button on the edit menu and move on to plan B. Hitting the 'auto levels' button in this case produced photo No.2, which is not too bad.
If you tried 'auto levels' and liked the overall brightness and contrast but the color balance was worse than before then try 'auto contrast' instead. This does the same job as 'auto levels' but without altering the color.
Curves
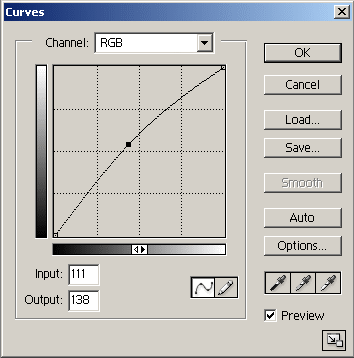
Sometimes though, the auto buttons won't give us what we want, so we need to try something that we can control ourselves. The next weapon in the arsenal is 'curves'. Select 'curves' from the 'image->adjust' menu and we get the window below. It may look a little intimidating at first but it is quite easy to use.Keep the channel set on RGB to adjust all the colors at once, don't try and use this window for balancing color as there are easier ways of doing it.
When the window is first opened there will be a straight diagonal line running from the bottom left to the top right of the grid. Put your cursor on the diagonal line and a black point will appear, drag this point diagonally upwards and to the left. Look at your picture and you will notice that the mid tones of your picture are getting lighter giving you a brighter looking picture. Pull to the right and downwards and you will see the mid tones getting darker.
Used carefully this is a very powerful tool indeed but it is best used sparingly, pull the curve too much and you will get all kinds of weird effects. I often use this tool several times in succession on the picture to drag the mid tones out of the mud.
If you have extreme work to do then you can move the end anchors to change the point at which the shadows go black or the highlights go white, but normally it is best to leave these anchors where they are.
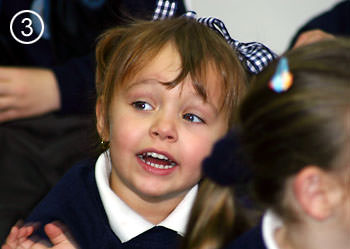
In the 'curves' window pictured above you will see I have made a small adjustment to the curve to lighten the mid tones of the photo. The result of this adjustment is shown below in photo No.3.
Brightness & Contrast
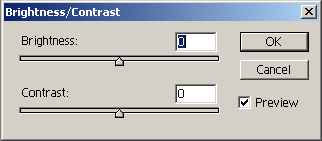
Sometimes the adjustment of these two controls can give you a better result than 'curves' but it is also easier to mess things up as well so I suggest you only use them when all else fails. You may need to use this window if, for instance, your picture needs to be brighter and it needs more contrast.
Levels
A better way to make linear adjustments is to use the 'levels' window.
thanks for sharing the information, it really useful.
ReplyDelete